Tips On Converting An Existing Barn Into A Barndominium

painting-cartoon-construction-character-home-improvement-renovation-finger-construction-worker-png-clipart-removebg-preview

Liking the idea of a condominium without the hustle and bustle of city life? Convert an existing barn into a lavish country house with all the amenities of a condominium while staying far from the noise of the city. You can even house a few horses in the barn part. Converting A Barn Into A Barndo Abarndominium, or barndo for short, is typically cheaper and easier to construct than a typical home. Some barndos are made from converting an existing barn, but recent construction developments have allowed people to build a barndo from scratch. Some barndos come in a kit containing the shell, a slab, exterior doors, and windows. However, if you're not a fan of pre-packaged homes, you can always find a barn to convert or build your barndo from scratch. Of course, you can always hire a builder, but it's more fun to put it up yourself. Here is the step-by-step process on how to build a barndominium

Tips On Converting An Existing Barn Into A Barndominium

Tips #1

The Foundation

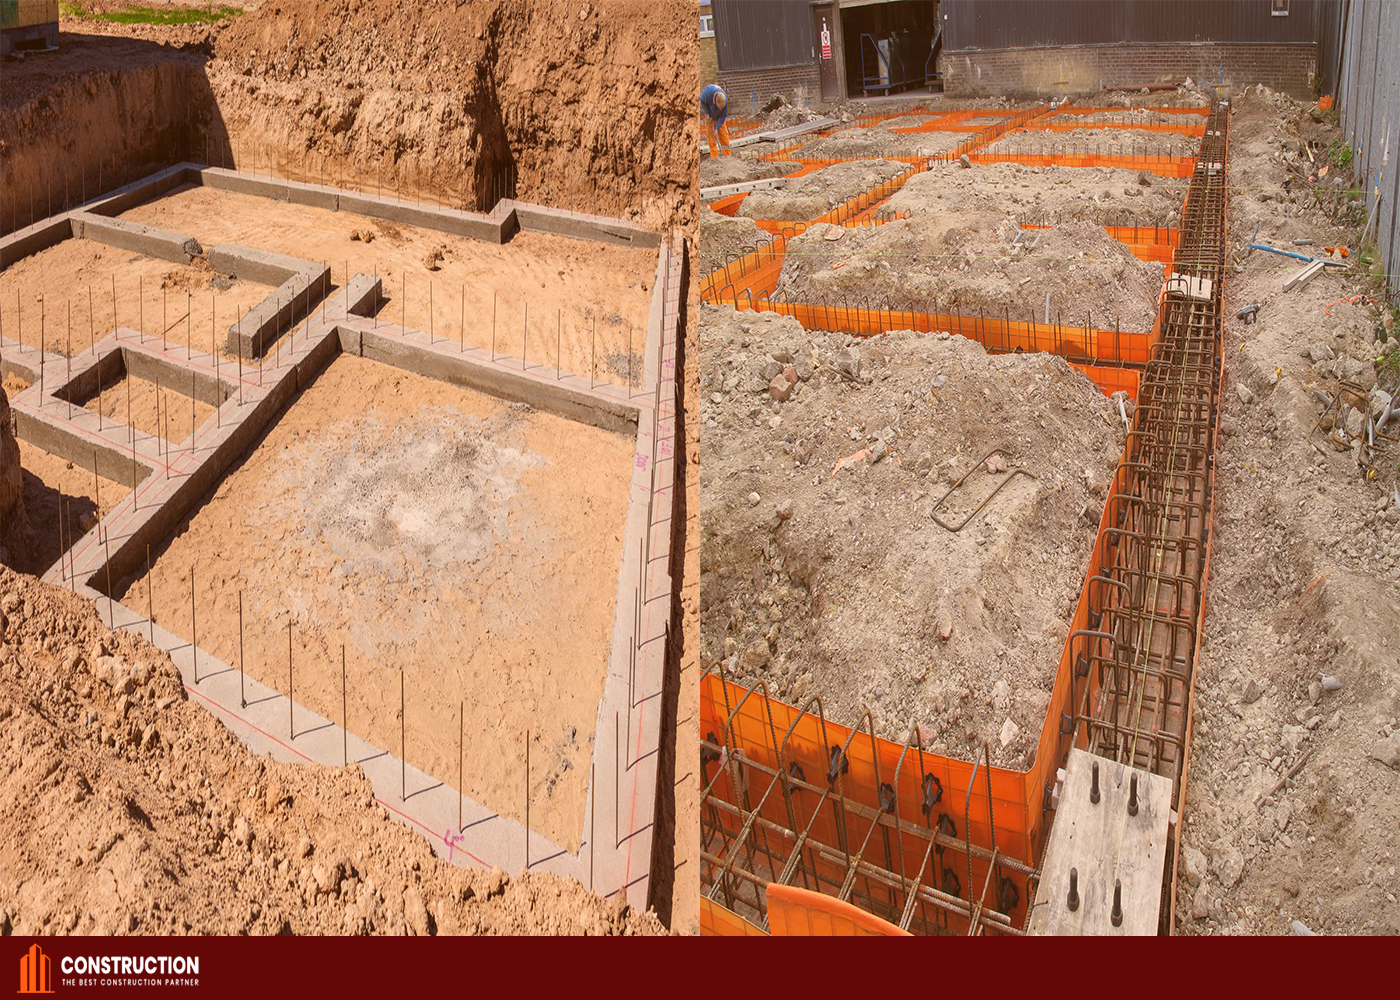
Assuming you’ve already found a plot of land or an existing barn to convert into your very own barndominium, the first thing to do is lay out the foundation. There are multiple ways of securing a barndo to the ground, but the most common approach is to build posts buried in the ground with concrete. Use a post hole digger to make holes down to the frost line, depending on where you are. Insert a cardboard form that will serve as a guide, then insert steel that serves as the innards of the post. Pour the concrete and allow it to set. If you are building in an area where the ground is flat, you can also make a monolithic concrete slab. This pad is poured in two thicknesses since it will bear the weight of the barndo. The Foundation
Tips #1

Tips #2

The Frame

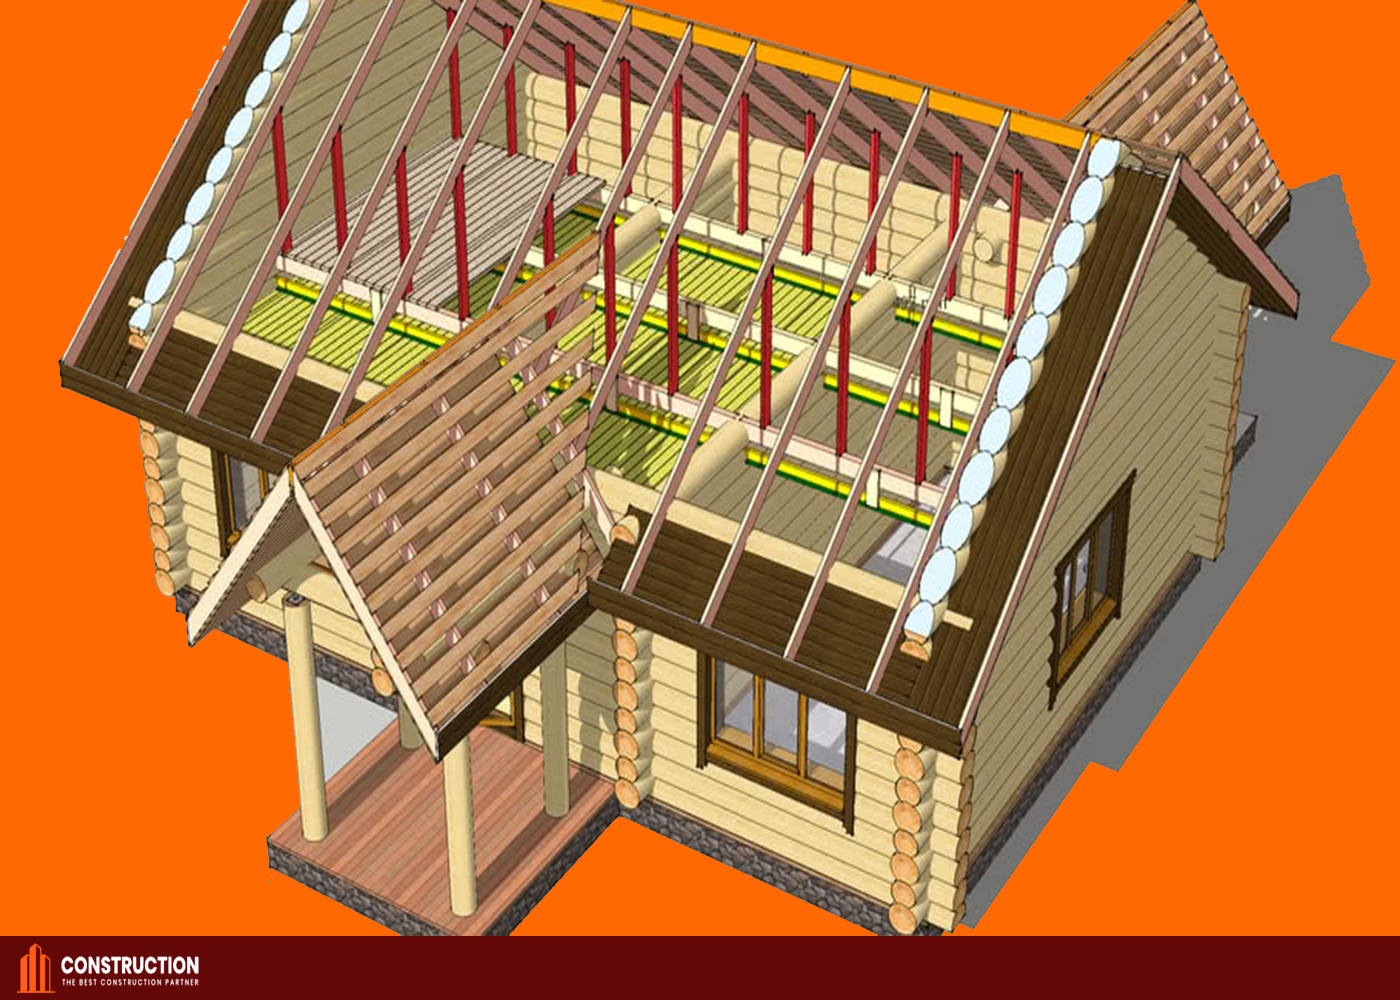
Once you’ve set the posts of your barndominium, you can now put up the rest of the skeleton. You can combine wood and metal, but most barndos have steel beams, also known as girders. You can’t put this up yourself, so make use of a crane. Tie the roof, the foundation, and the walls together to form a stable skeleton for your barndo. Use wood lumber for your interior so that you can insulate and install your drywall much easier. You can also use tracks and metal studs, but you would need the help of a professional builder. Lumber is the easiest to work with in any construction undertaking. Make your partition walls by using wooden beams, also known as LVL or laminated veneer lumber. These are used to determine the distance between walls. Put up your roof since it’s part of the process of making the frame. You’ll be able to keep the interior of your barndo dry while finishing construction. Barndo roofs are commonly done in the barn style, and they are usually made from metal. It’s going to be easy to put up since most of the tools you will need to do this are already on site. Put up your weather shield, including fascia caps and aluminum gutters. Use vinyl-clad wooden windows so that your exterior will be low maintenance. The Frame
Tips #2

Tips #3

Wiring & Plumbing

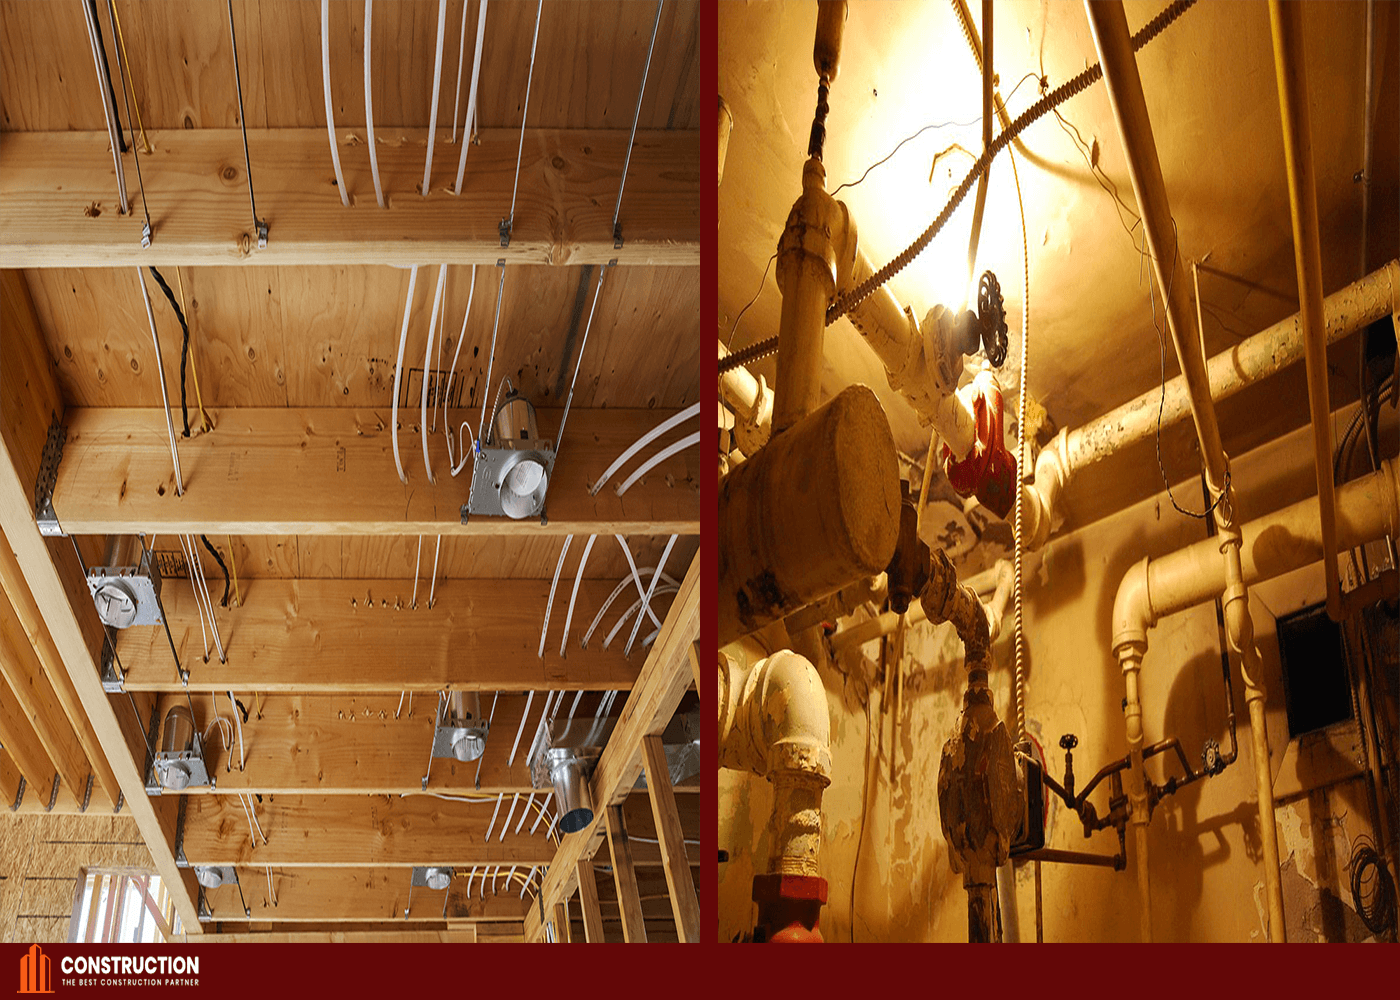
HVAC, Wiring, and Plumbing After you’ve finished your frame, it’s time to install your interior systems. Call a professional to help you out since they would need to check if the plumbing is done correctly for it to work. You would need a lot of room for the plumbing requirements, and for your plumbing to work even in cold weather, it’s best to use a plastic tubing called PEX. A lot of professional plumbers use PEX since they are highly flexible and have a lot of joints. After having your plumbing installed, you can now work on putting up your electrical system. Again, you would need professional help here since your electrical wires would have to follow a certain route, especially if you’ve got several appliances in your laundry room and bathroom. Wiring & Plumbing
Tips #3

Tips #4

The Insulation

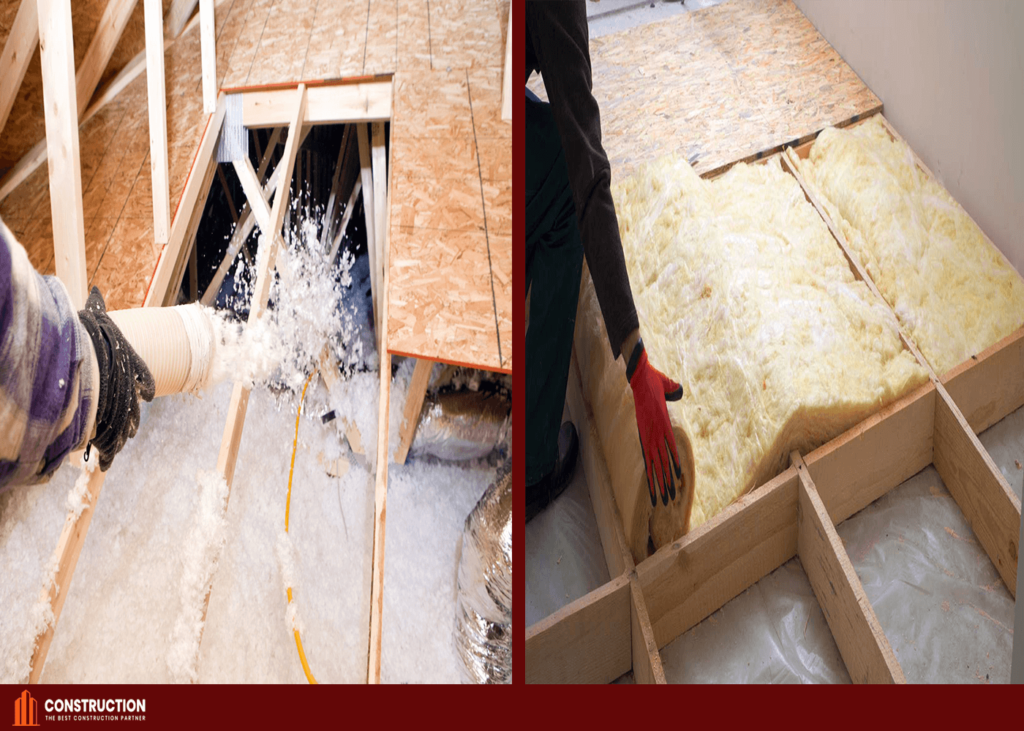
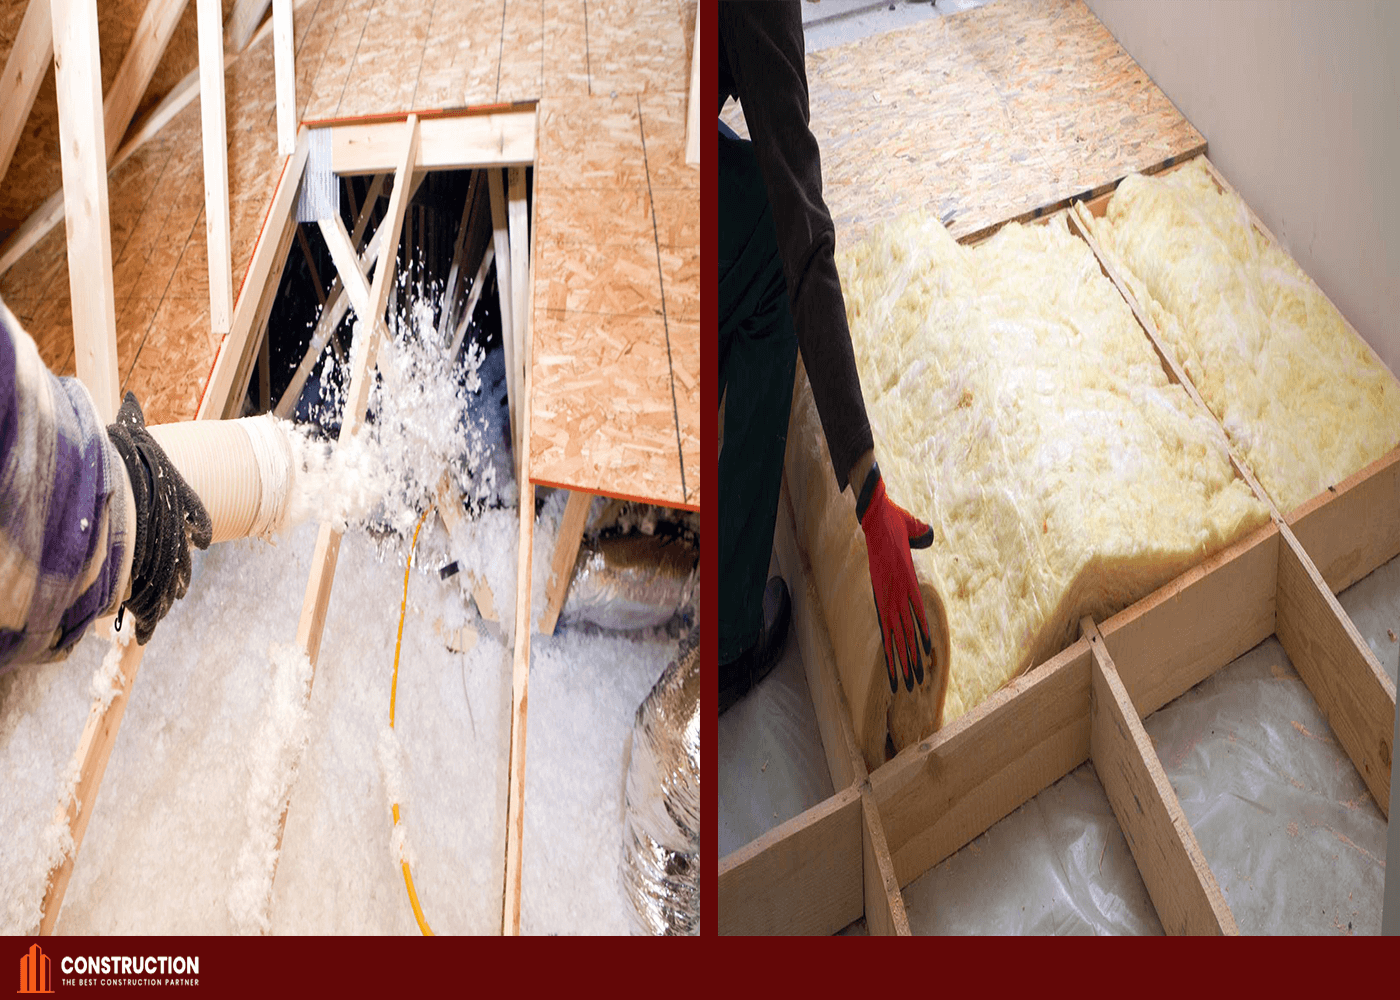
The Insulation If you’re building your barndominium in a hot area, there’s no need for insulation. However, insulation is highly recommended if you’ve got mixed weather since you will need it in winter. Some states have regulations for installing insulation, no matter what kind of home you may have. It’s best to refer to the International Residential Code before putting insulation in your barndo. Walls are usually around four and a half inches thick. Your insulation should either be spray foam or R-13 fiberglass batting. The Insulation
Tips #4

Tips #5

Flooring & Drywall

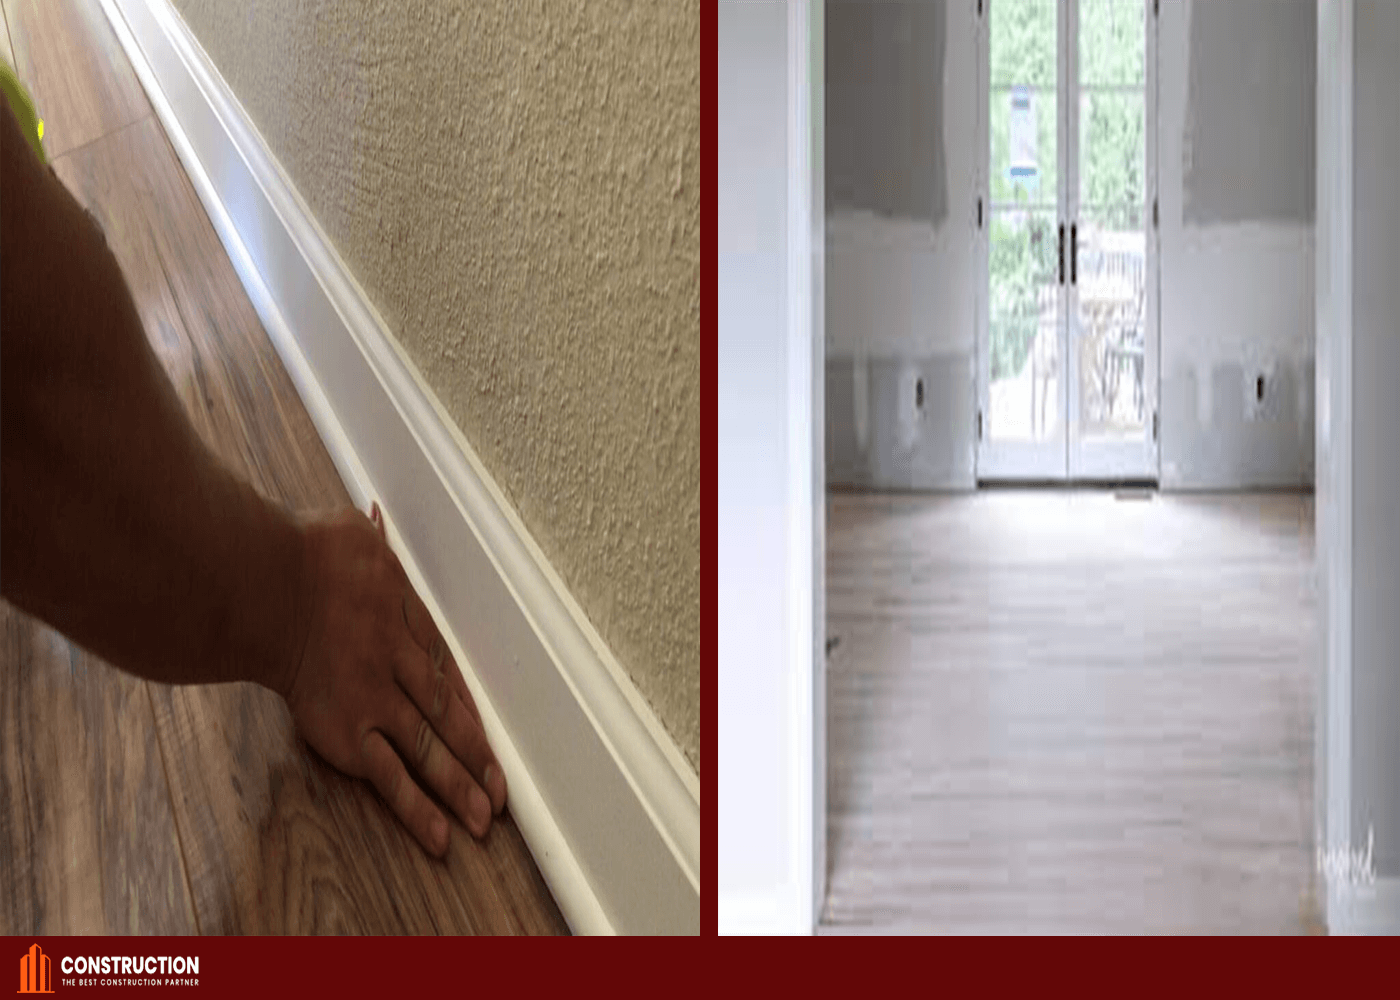
Flooring, Drywall, and Paint You’ve finally finished everything, including inspection, and all there is left to do is start painting. If you don’t feel like slathering on paint and letting your wall take on the feel of a barn, it’s good to consider stonework, tongue and groove paneling, or rough logs installed into the walls of your barndo. Otherwise, you can use a sprayer to put paint on your walls. Sprayers are recommended, especially if you’re putting on multiple paint coats. It gets the job done, and your paint will turn out even. Once you’ve finished your drywall and your paint job, it’s time to lay down your flooring. They are usually put on last since placing them before you do your paint job would only ruin them. After you place your flooring, it’s time to install any trim that you may want to have, such as ceiling and floor trimmings. You can check out existing barndos for inspiration. The Insulation
Tips #5

Conclusion

The most important thing to remember while planning to construct your new barndominium is that building one takes time and money. You do not want either of these two resources going wasted due to bad planning on your part!

While this post does not cover every detail involved with choosing the perfect location for your very own barndominium, it does cover some of the more important points that will surely help you in your search.

As long as you’re aware of all the best practices and don’t throw away money unnecessarily on mistakes, then you should be well on your way to owning a business that is both profitable and fun.