DIY Barndominium: Interior and Exterior Framing
How to Frame Barndominium
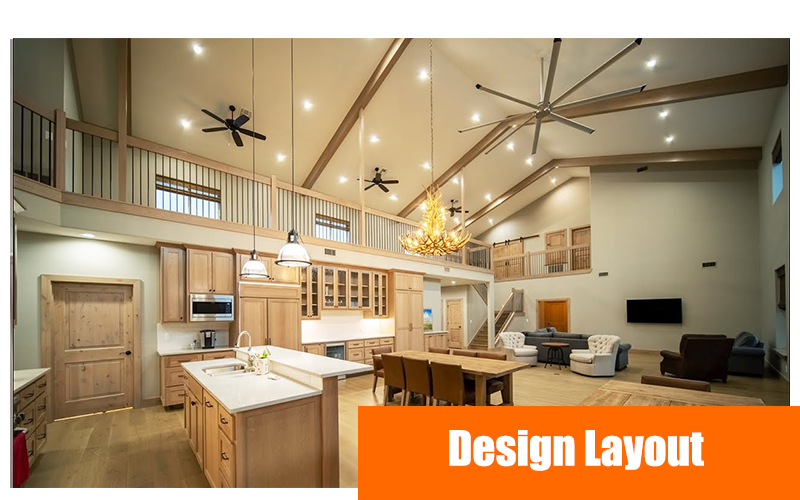
Design Layouting
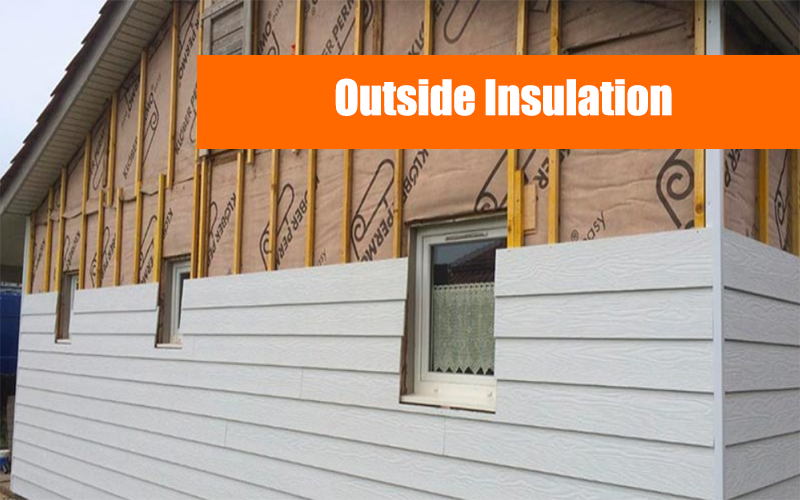
Use Spray Foam Insulation for Outside Walls
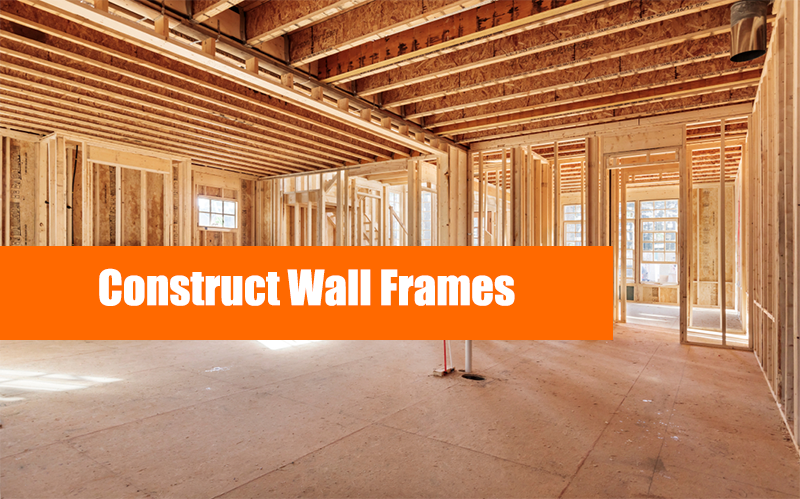
Construct the Walls' Frame
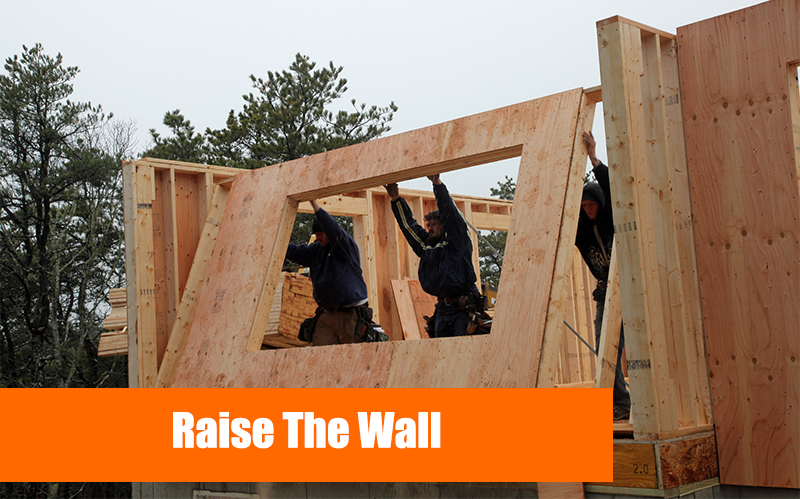
Raise the Walls
It’s time to lift the wall and attach it in place now that the frame has been built. You’ll need more than one person to lift it evenly and prevent it from bending. To keep the wall from shifting after it has been lifted, anchor it into the concrete slab or foundation floor.
Install Ceiling Joists and Beams to the Frames
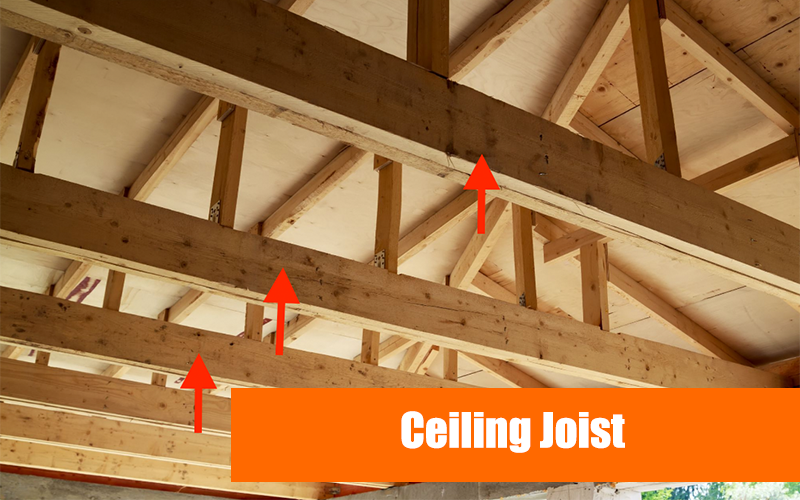
After you’ve finished framing the entire pattern, you may start putting in the ceiling beams and joists. The use of two 2x4s for the posts is required in some areas. The joists run the length of the wall frames and are installed horizontally. When using two 2x4s, the standard distance is 12 inches. Ceiling joists are typically 16 to 24 inches apart and set perpendicular to the joists. Continue at one end and navigate your way around to the other, just like you did with the studs.
Attach Electrical Outlets and Sewage Pipes
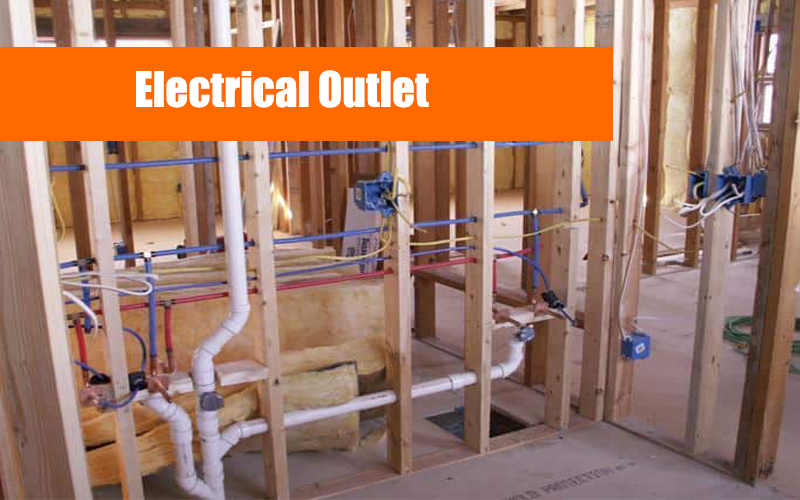
The following step is to add electrical and sewage components, such as electrical boxes and water pipes. Specific architectural regulations for positioning outlets and electrical wires exist in several states and municipalities. If you’re unsure, ask your local contractor for advice. This will fasten the process.
Time for the Drywall
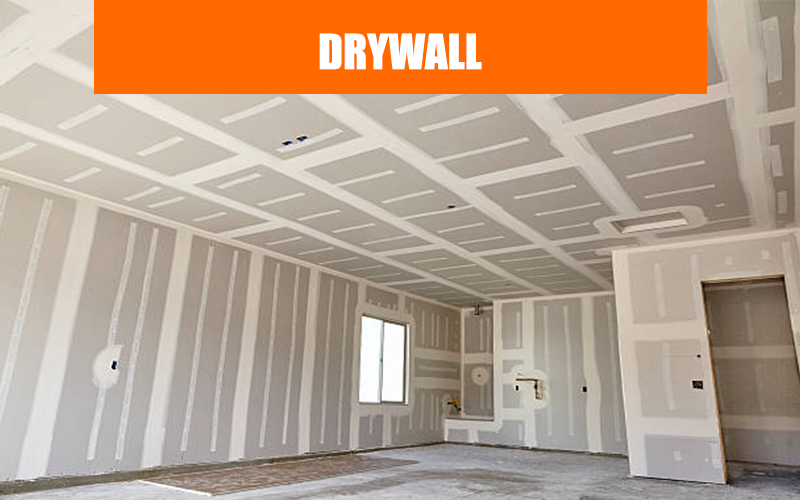
Your Barndominium will be complete once it has been installed.
Finishing Touches
Now that your walls and ceiling have been framed, it’s time to apply the finishing touches like painting. It will save you time and energy since you won’t have to cut into any drywall or insulation you’ve already installed to attach to the room’s plumbing and electrical systems.
